

- Home

Step-by-Step Installation Guide & Common Mistakes of Parallel Thread Rebar Couplers
Views: 0 Author: Site Editor Publish Time: 2026-07-13 Origin: Site


High-performance parallel thread rebar couplers can only deliver full structural tensile capacity when installed following standardized operating procedures. Improper on-site handling remains the top cause of failed third-party pull tests, structural rework, and project delays across global construction sites.
Common installation defects include incomplete thread rolling, insufficient tightening torque, dirty threaded surfaces, mismatched coupler types, and damaged rebar ends. Drawing on official standards ACI 318, JGJ107-2016, plus technical manuals from Aleono, CS Rebar Splice and Mitro Industries, this complete guide covers pre-installation inspection, full step-by-step assembly workflow, standardized torque charts, frequent construction errors with corrective solutions, and final on-site acceptance rules for field foremen, civil technicians and third-party inspectors.
1. Pre-Installation Material & Component Inspection
Before processing rebar threads or assembling couplers, two rounds of strict pre-checks eliminate hidden quality risks in advance.
1.1 Rebar Raw Material & End Cutting Inspection
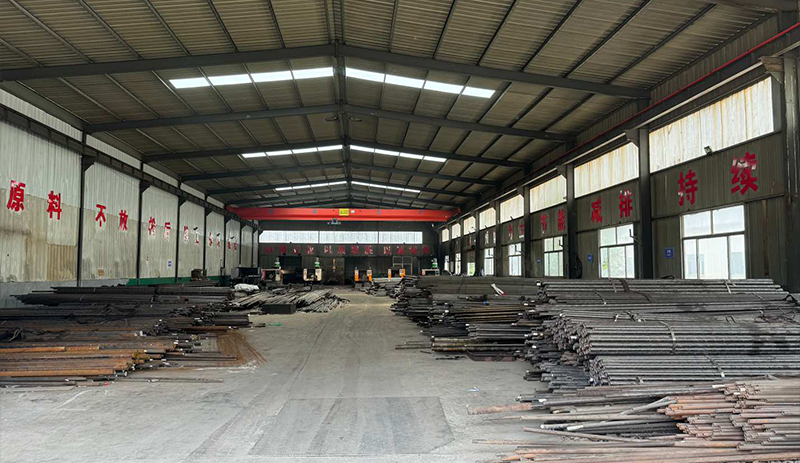
Cut rebar ends exclusively with abrasive wheel cutting machines. Gas cutting or manual sawing creates uneven, deformed cross-sections that disrupt thread alignment and reduce joint bearing capacity. The cutting surface must stay perfectly perpendicular to the rebar central axis.
Clear rust, cement residue, burrs and surface scale on bar ends before rib peeling; contaminants will scratch internal coupler threads during assembly.
Confirm rebar grade (HRB400 / HRB500 / Fe415 / Fe500) and diameter match the corresponding coupler specification. Mixing different bar sizes leads to thread slippage under tension.
1.2 Rebar Rib Peeling & Thread Rolling Quality Check
Operate rib-peeling thread rolling machines to strip transverse and longitudinal ribs evenly, then roll uniform external parallel threads. Thread length shall equal half the coupler’s overall barrel length, with tolerance controlled within 0–2 complete thread pitches.
Use GO/NO-GO ring gauges to test finished rebar threads: The GO gauge shall fully screw in smoothly by hand; the NO-GO gauge cannot penetrate more than 2 pitches. Any broken, disordered, shallow or rusted threads must be cut off and re-rolled.
Fit plastic protective caps onto qualified threaded ends immediately to block dust, concrete slurry and moisture during transportation and stacking. Unprotected threads are prone to corrosion and foreign matter blockage.
1.3 Coupler Incoming Inspection
Verify coupler model: standard right-hand coupler, left-right position coupler, reducer coupler or extended coupler according to construction drawings.
Visual check coupler barrels: no cracks, dents, rust or incomplete internal tapping. Confirm matching material certificates and tensile test reports before mass use.
Sort couplers by diameter and place them in sealed plastic bags to avoid mixing sizes on-site.
2. Standard Step-by-Step Installation Workflow
The installation process varies slightly based on coupler type; below is the universal operation process for all parallel thread sleeves.
Step 1: Clean Threaded Ends
Remove plastic protection caps from rebar and coupler, wipe off sand, mud and rust on internal and external threads with a dry brush. Residues will reduce thread contact area and weaken load transfer.
Step 2: Pre-Screw the Coupler Onto One Rebar
For standard full right-hand couplers: Rotate the sleeve all the way to the end of the threaded rebar segment until it touches the ribbed section.
For left-right position couplers: Align the two rebars axially, push the sleeve horizontally instead of rotating bars, ideal for bent rebars and precast embedded steel.
For reducer couplers: Match large-diameter thread to thick rebar and small-diameter thread to thin rebar strictly, reverse assembly will cause joint failure.
Step 3: Align the Second Rebar & Tighten
Push the second threaded rebar into the opposite side of the coupler, keep the two steel bars coaxial without bending offset.
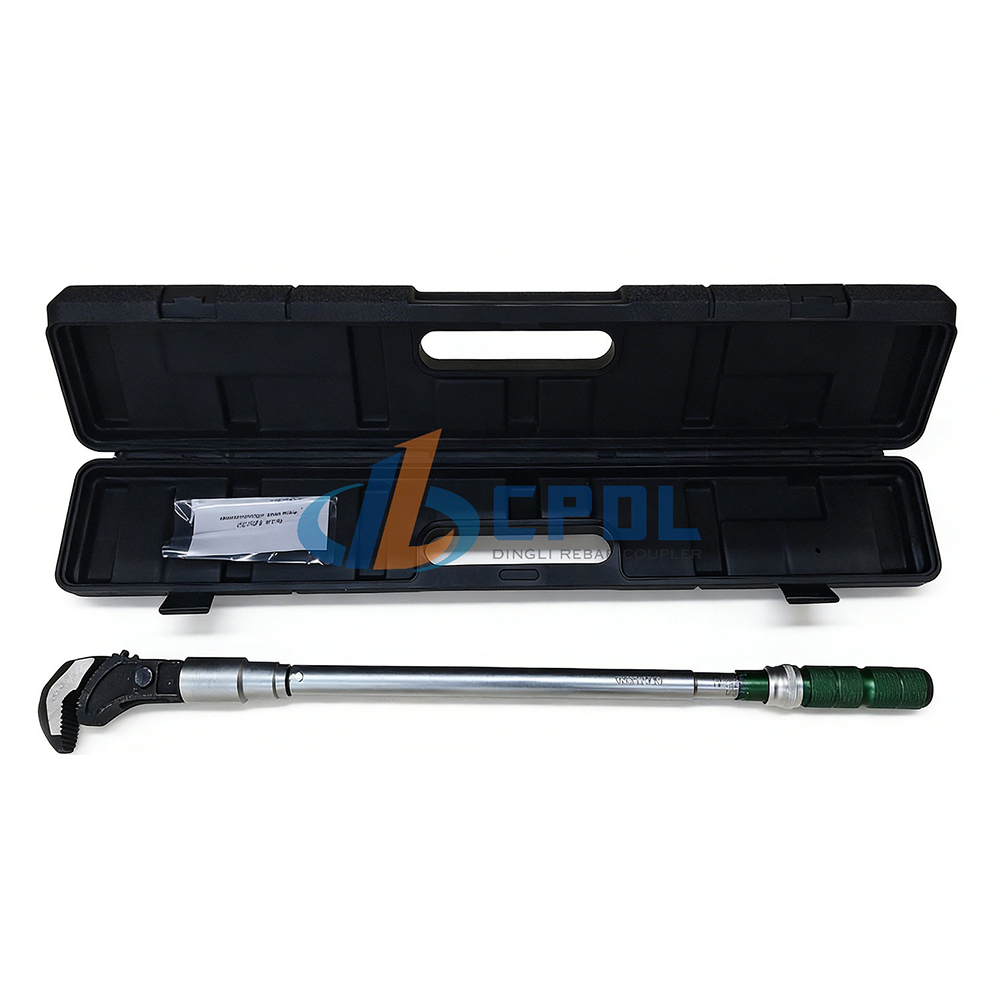
Use a calibrated torque wrench to rotate the coupler clockwise until reaching the specified torque value. Do not use adjustable spanners or pipe wrenches without torque scale, as they cannot control tightening force accurately.
After tightening, the end faces of two rebars must closely contact at the central position inside the sleeve, with exposed external threads limited to maximum 2 pitches on each side.
Step 4: Temporary Protection After Installation
Wrap plastic film or install small rubber caps on both ends of the finished joint to prevent concrete mortar from filling residual thread gaps during pouring. This avoids thread corrosion in long-term service.
3. Standard Torque Reference Chart for 12–40mm Rebar Couplers
Tightening torque is the core control index for on-site construction, insufficient torque directly causes slippage under seismic or fatigue loads:
Rebar Diameter (mm)
Required Tightening Torque (N·m)
12
100
16
150
20
230
25
320
32
450
40
620
Key reminder: Torque wrenches must be calibrated every 3 months to guarantee data accuracy. Abandon deformed or uncalibrated tools immediately.
4. Most Common Installation Mistakes & Targeted Solutions
Mistake 1: Irregular rebar end cutting (gas cut / jagged saw cut)
Risk: Uneven cross-section leads to partial thread engagement, joint tensile strength drops by over 30%.
Fix: Only use abrasive cutting wheels; re-cut all deformed bar ends before thread rolling.
Mistake 2: Threads covered with concrete, sand or heavy rust
Risk: Foreign particles scratch internal threads, reduce friction locking force, trigger slippage under tension.
Fix: Keep plastic protective caps on during storage; fully clean threads before assembly.
Mistake 3: Tightening torque below standard value
Risk: Threads are not fully interlocked, joints slip under seismic cyclic loads, fail third-party pull tests.
Fix: Mandatorily use calibrated torque wrenches; spot-check 10% of all joints randomly per construction layer.
Mistake 4: Mixed coupler sizes for unmatched rebar diameters
Risk: Loose thread fit, complete joint fracture under minor load.
Fix: Store couplers by separate sizes with clear labels; technicians double-check diameters before installation.
Mistake 5: Using position coupler for rotatable straight rebars, or standard coupler for bent non-rotatable bars
Risk: Low installation efficiency, incomplete thread meshing due to forced rotation of bent steel.
Fix: Distinguish coupler types according to drawing requirements before construction.
Mistake 6: Over-tightening the coupler with excessive torque
Risk: Thread tooth cracking, barrel deformation, hidden brittle fracture hazard.
Fix: Stop tightening once the torque wrench sends a click alert, no extra force applied.
Mistake 7: More than 2 exposed thread pitches after tightening
Risk: Short effective thread engagement length, insufficient bearing capacity.
Fix: Adjust thread rolling length to ensure rebars meet in the center of the sleeve after tightening.
5. On-Site Inspection & Acceptance Standards
After all joints are installed, site supervisors and third-party inspectors conduct double verification:
Visual Appearance Inspection
No coupler cracks, deformation or corrosion;
Exposed threads on each side ≤2 pitches;
Two rebar ends fit tightly in the sleeve center.
Torque Sampling Inspection
Randomly select 10% finished joints per floor, re-test torque with calibrated wrenches. Any unqualified joint must be disassembled, cleaned and re-tightened.
Offline Static Tensile Test
Extract 3 random joint samples for static pull tests per construction batch. Qualified specimens must fracture on the rebar body instead of the coupler barrel, meeting Grade I joint standards of ACI 318 and JGJ107-2016.
6. Long-Term Storage & Maintenance Tips
Unused couplers should be sealed in moisture-proof woven bags and stored in dry warehouses, avoid open-air stacking under rain or salt fog.
Thread rolling machines and torque wrenches require regular lubrication and calibration every quarter.
Galvanized anti-corrosion couplers for coastal projects need extra plastic wrapping to prevent galvanized layer scratch during transportation.
Conclusion
The performance of parallel thread rebar couplers relies not only on factory production quality but also standardized field installation. Following the complete workflow, strictly controlling tightening torque and avoiding typical construction errors can guarantee all rebar joints pass official inspection without rework.
For project managers and contractors, downloading our printable torque chart and operation checklist can unify construction standards for all workers on-site. If you need custom technical datasheets or free coupler samples for testing, contact our engineering team for support.
SUBSCRIBE TO OUR NEWSLETTERProfessional manufacturer of high-quality rebar couplers in China. We provide reliable, durableand cost-effective rebar connecting solutions for construction projects worldwide.- CUSTOM GOODS
- ABOUT CPDL
- GET IN TOUCH +86-13371462215 Xinfa Ind, Area, Chiping, LiaochengCity , Shandong Province, China
- SOCIAL FOLLOW
 English


